Designing tokens
This page outlines the steps that collaborators should follow to contribute a new Atlas design token.
INFO
Token creation is a complex design process since we need to fit the token in our current token scale and nomenclature. Design System Teams members will support you in the creation of the token and the proposals review.
1. Report and validate
1.1. Create a new task in Phabricator
If none of the existing Atlas design tokens provide the right value for a visual style, or if the initial intended use case of a token doesn’t match a new styling need, then a new token needs to be created.
The first step to include a new token in the system is to create a new GitHub issue. Use this token creation template issue to create the token issue, filling in as much information as possible in the predefined sections.
TIP
Designers can temporarily apply specific hard-coded values as placeholders in their designs until the reusable token is ready to use.
1.2. Review the task with the Design System Team
The new task must be reviewed with help from the Design System Team (DST) before the token creation process starts. This is in order to validate that this new token is really needed, and to plan next steps. Make sure to add the Design Tokens project tag to the task for visibility. You can also post a comment in the task and ping the DST members as a way to start the conversation.
Once the task is validated with the DST and the need is clear, you’ll be able to start designing the new system token.
2. Research and prepare
Designers should start by checking the following resources in order to collect relevant information about the existing tokens and their current use cases:
- Atlas Figma library: enable this library to reuse all the design tokens that were translated into Figma styles and variables.
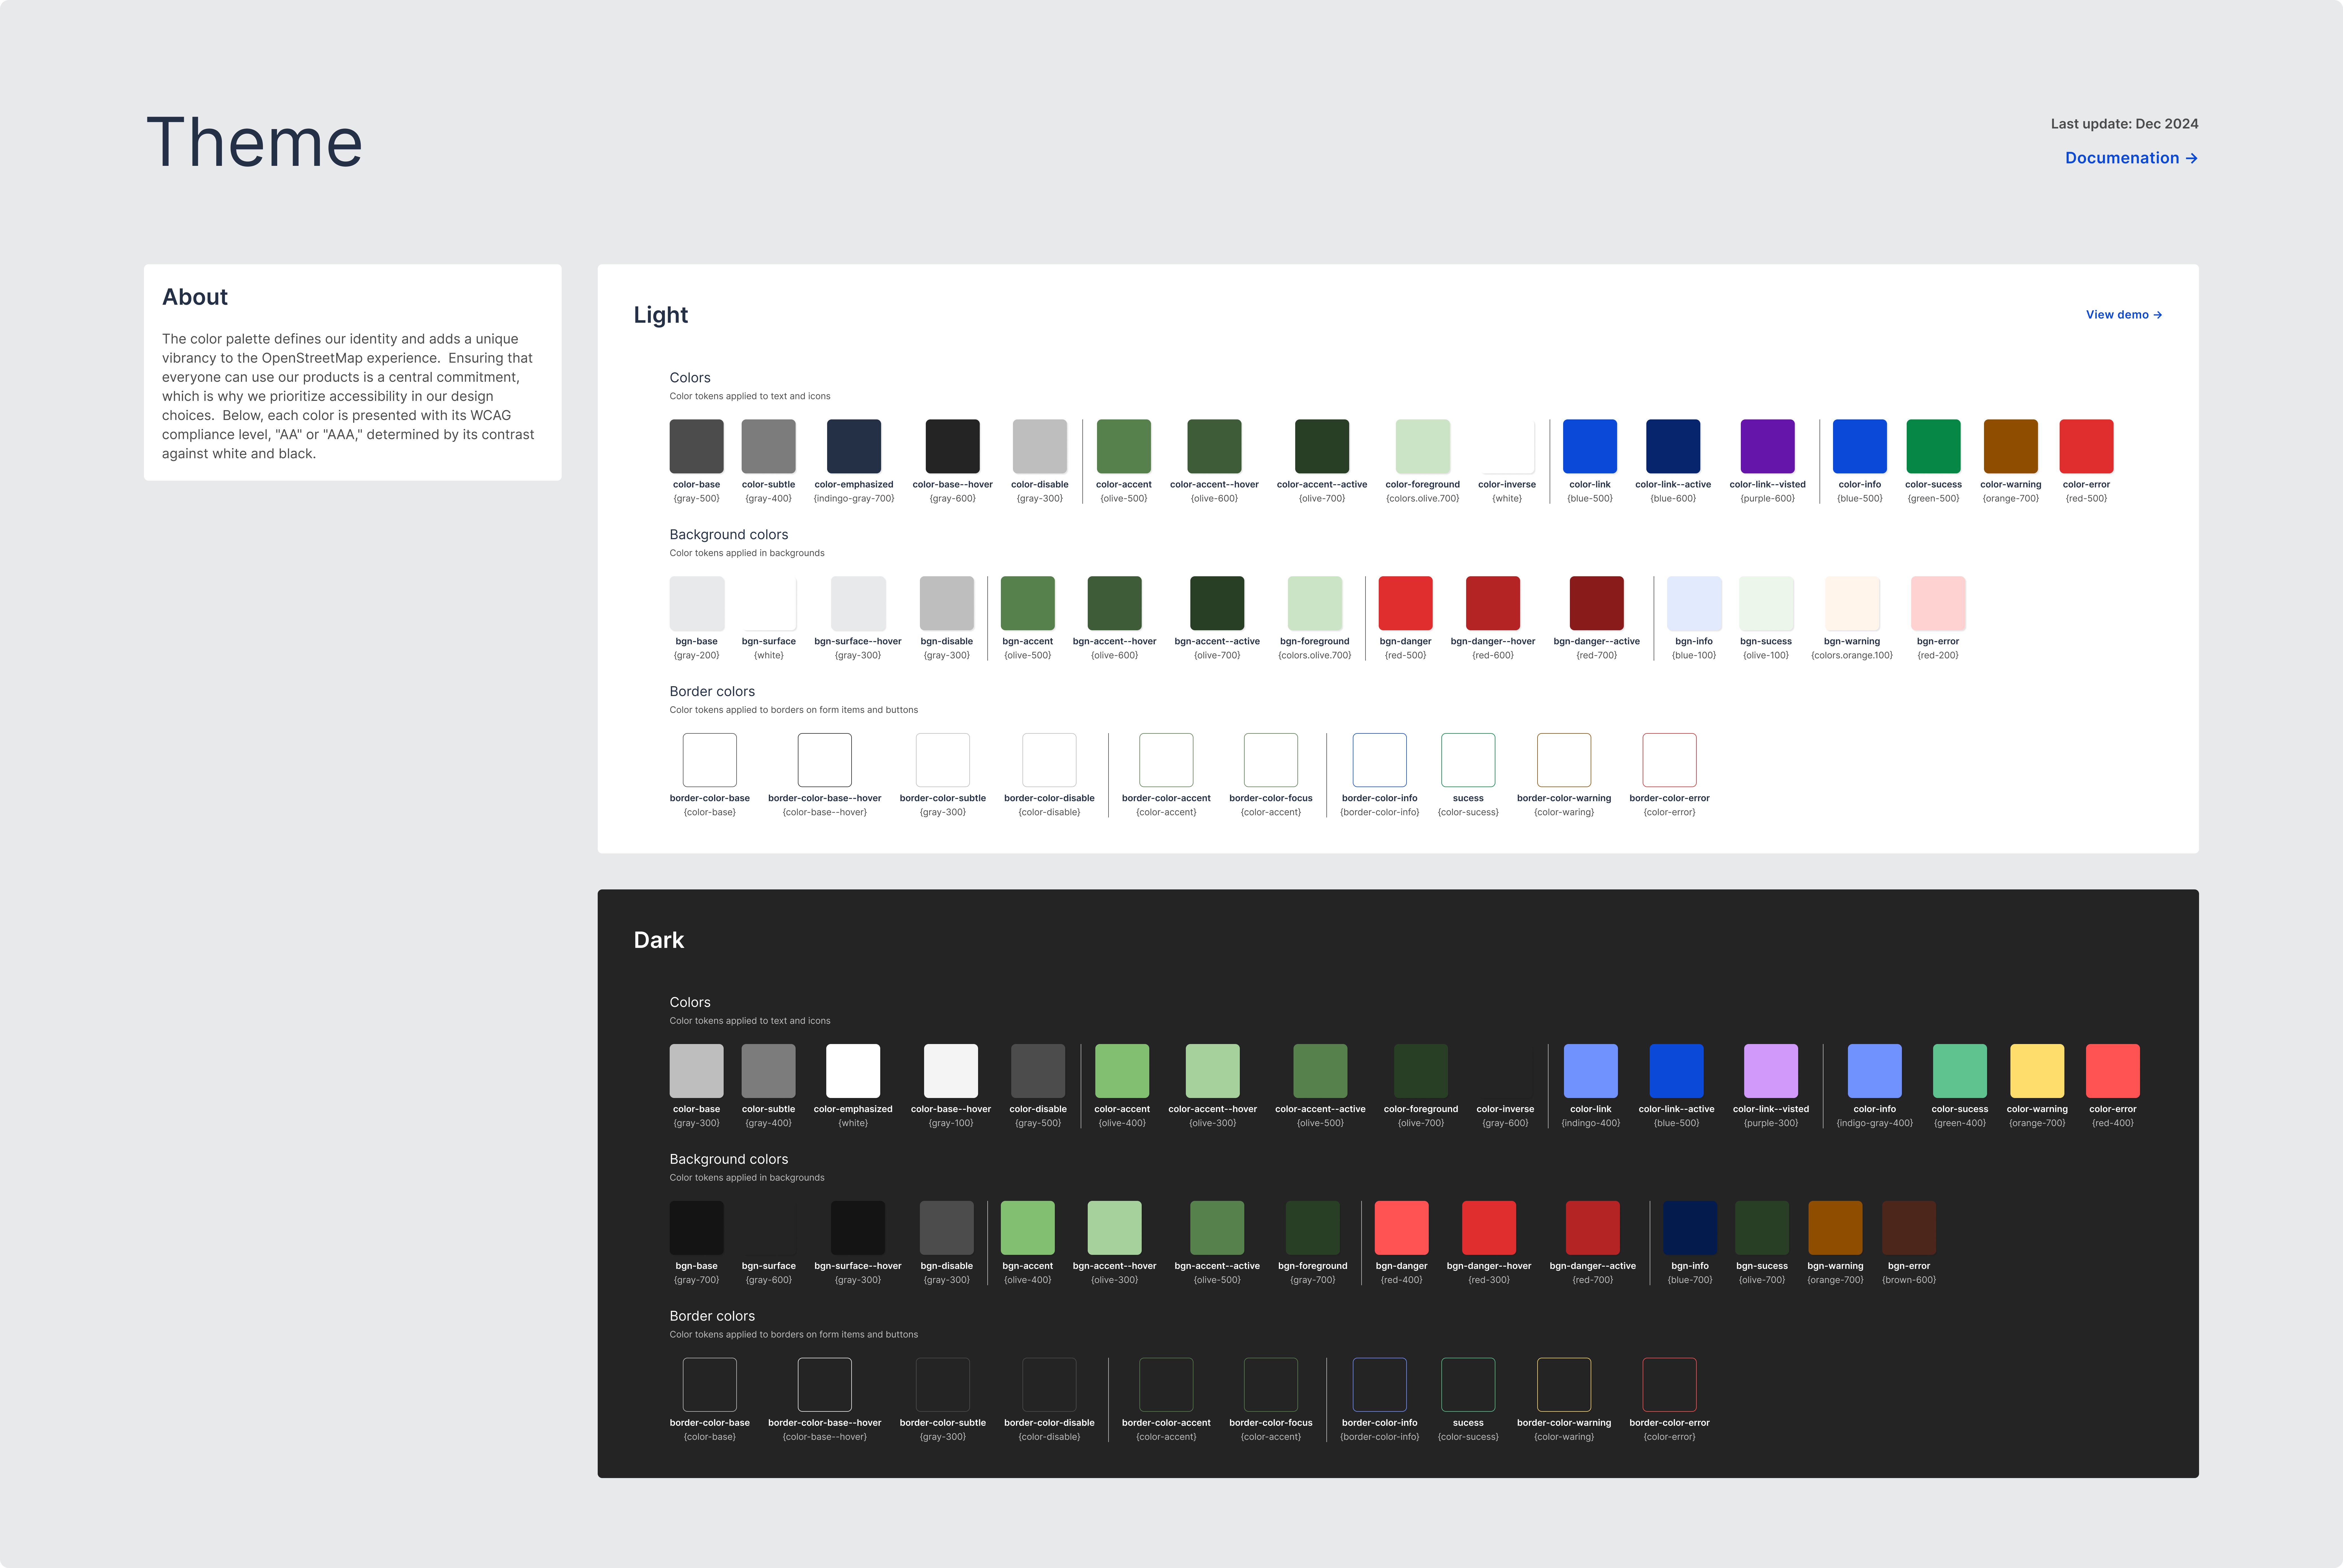
- Design tokens demo: check the current existing tokens in the Atlas demo.
Designers will start creating an initial inventory with the relevant use cases where this new token will be used. This process allows designers to understand the extent to which the new token will be reused. Also, tokens within the same category will need to be observed: the new token will have to fit into the existing scale.
3. Design the token
3.1. Create option and decision tokens
Designers will need to add both option and decision tokens in their respective specifications sheets. Option tokens consume “raw” values (e.g. #57814c), and usually have more abstract names (e.g. olive-500). The names of decision tokens should express their intended use (e.g. color-accent). They consume option tokens as values. Learn more about the different token typologies.

Make sure that both option and decision tokens fit within the existing value scale. Apply the value of the token to its “swatch” in Figma in order to showcase the new style. Also, make sure to use the right naming, which might depend on the token’s category.
3.2. Evaluate and iterate
Once the token’s specification sheet has been updated to include the new suggested token, it should be shared in the relevant GithHub issue, in order to start collecting feedback from the Design System Team, other designers, or the wider community.
The proposal will be discussed in the task and will be iterated if needed. All the potential open questions listed in the task will need to be resolved before the token’s design process can be considered done.
WARNING
No token can be added to the system without the approval of the Design System Team. Ping the team in the GitHub issue so they can review it and track the task.
4. Hand-off to development
Once the token’s proposal has been discussed, iterated on (if needed) and finished, the designer will share the link to the final version of the token’s spec sheet in GitHub issye. At that point, developers will be able to start implementing the new token in Atlas.
The following actions are required before handover:
- Link the design spec in the task: the designer will add the link to the exploration file in the description of the Github issue.
- Post a comment: leave a comment explaining that the task is ready to be implemented, pinging the developer in charge of including the token in the system if possible.
- Move the task to the next relevant column: the task should be moved to the next relevant column in the board in order to indicate that the token is ready to be implemented in Atlas.
- Complete the design checklist: the designer will complete the design checklist in the “Acceptance criteria” section in the task description in order to reflect which steps in the task were already completed.
5. Design sign-off
Once the token has been implemented in Atlas, developers will assign the task back to the token’s designer (and move the task to the corresponding column in the GitHub Project). Designers should then make sure that the token’s value and nomenclature were successfully created in Atlas, and that it was applied correctly to the right components’ styles (if necessary).
Once design sign-off is completed, the designer will move the task to the next column in the GItHub Project, so it can ultimately be considered for release.
6. Document: Create the new token as Figma style
Once the token has been implemented and signed-off, it will be included in the Atlas Figma library so it can be reused in the different design projects.
INFO
In order to avoid problems with our Figma library, designers from the Design System Team will be responsible for adding the new token to the library and for publishing it. Please ping them in the Github issue once the design exploration file is ready, so they can add the the new token as style or variable in the Figma library.